Guide to Tube Bundle Replacement for Shell and Tube Heat Exchangers
In the world of industrial and commercial applications, shell and tube heat exchangers are indispensable for heat transfer. However, like all mechanical systems, they require regular maintenance and occasional repairs to stay in top working condition. One of the most critical components subject to wear and tear is the tube bundle. In this blog post, we’ll explore the ins and outs of tube bundle replacement, providing facility managers and mechanical contractors with the knowledge they need to keep their systems running smoothly.
What is a Tube Bundle?
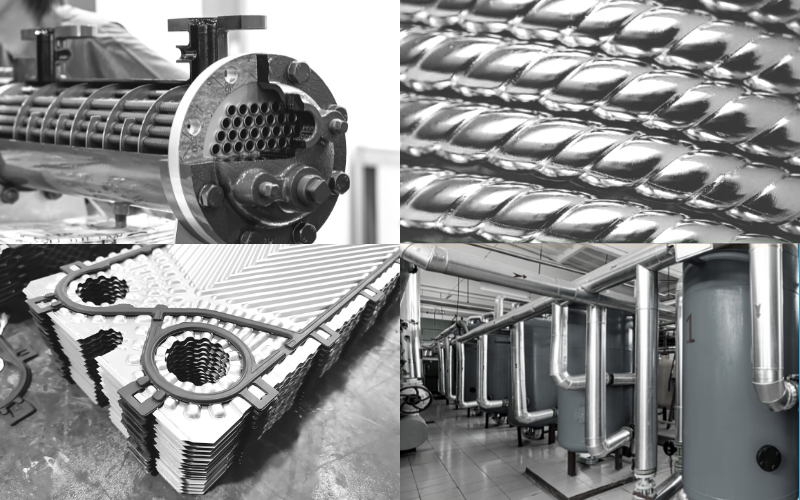
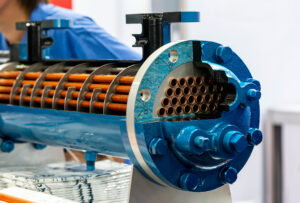
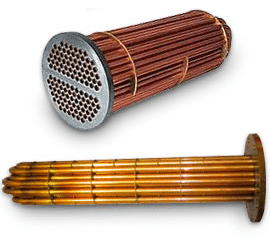
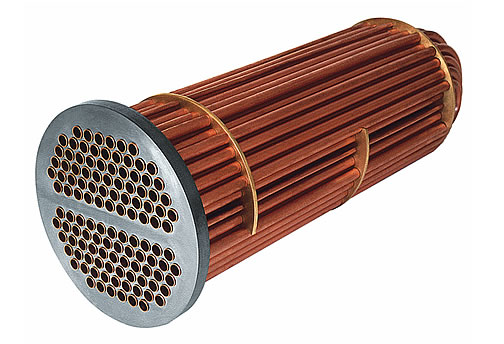
The tube bundle is the heart of a shell and tube heat exchanger. It consists of a series of tubes, typically made of copper, stainless steel, or other materials, arranged in a cylindrical shape within the outer shell. These tubes are responsible for carrying fluid through the exchanger.
Why Tube Bundles Need Replacement
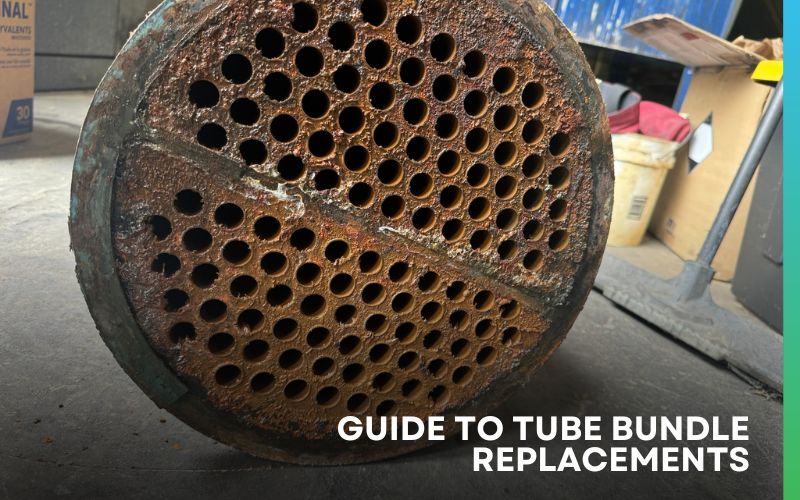
Tube bundles are susceptible to corrosion, fouling, and mechanical damage over time. Here’s why tube bundle replacement is often necessary:
- Corrosion: Constant exposure to water and steam can cause the tubes to corrode, weakening the metal and leading to potential leaks.
- Fouling: The buildup of biological matter, scale, or dirt can reduce the efficiency of heat transfer, increasing operational costs.
- Mechanical Damage: Cracks or pinhole leaks can develop, compromising the integrity of the entire system.
Benefits of Timely Tube Bundle Replacement
Replacing tube bundles at the right time can offer several benefits:
- Enhanced Efficiency: Fresh, clean tubes ensure optimal heat transfer, reducing energy consumption.
- Extended Lifespan: Regular maintenance and timely replacements can extend the life of your heat exchanger.
- Safety: Preventing leaks and contamination protects both the equipment and the workers.
Key Maintenance and Repair Strategies
To keep your shell and tube heat exchangers in top shape, regular maintenance is crucial. Here are some key strategies:
1. Regular Inspections
- Exterior Inspection: Look for signs of damage like cracks or leaks.
- Tube Bundle Inspection: Check for corrosion or fouling. If you notice any buildup, it’s time for a cleaning or replacement.
2. Cleaning
- Chemical Cleaning: Suitable for light fouling, this method uses chemicals to dissolve and flush out deposits.
- Mechanical Cleaning: For heavier fouling, use brushes or water jets to physically remove buildup.
3. Corrosion Prevention
- Use corrosion-resistant materials like stainless steel.
- Conduct regular testing and inspections to catch early signs of corrosion.
4. Handling Damaged Tubes
- Tube Plugging: Insert a plug into the cracked section to prevent fluid leaks.
- Tube Replacement: If the damage is extensive, replacing the entire tube bundle may be necessary. Contact a professional to properly measure and build a drop-in replacement bundle.
How to Measure a Heat Exchanger for Replacement
In most cases, the model number alone can help our team duplicate your tube bundle. However, sometimes more detailed measurements are needed. Our team will:
- Take pictures and note the dimensions of the bundle, including the number of passes and the nominal width and length.
- Record steam and water pressure as well as type of the fluid to determine the appropriate materials.
Common Brands We Replace
We frequently replace tube bundles from the following brands:
- Armstrong
- Bell & Gossett
- Cemline
- Dunham-Bush
- Old Dominion
- Patterson-Kelley
- Reco
- Taco
- Thrush
Conclusion
Tube bundle replacement is a critical aspect of maintaining shell and tube heat exchangers. By following regular maintenance and inspection protocols, you can ensure your system operates efficiently and safely. If you’re unsure about the condition of your tube bundles, don’t hesitate to call in a professional for assistance.
At Cooney Coil & Energy, we specialize in tube bundle replacement. Contact us today to keep your heat exchangers running at their best.

